I've wanted to see and capture the Milky Way for a long time. It is one of the reasons why I bought a DSLR camera and I got my lazy ass off the couch this weekend and got it done. In this post, I'd like to document the process I went through to make this happen, for my future reference and anyone who wants to capture the Milky Way for the first time.
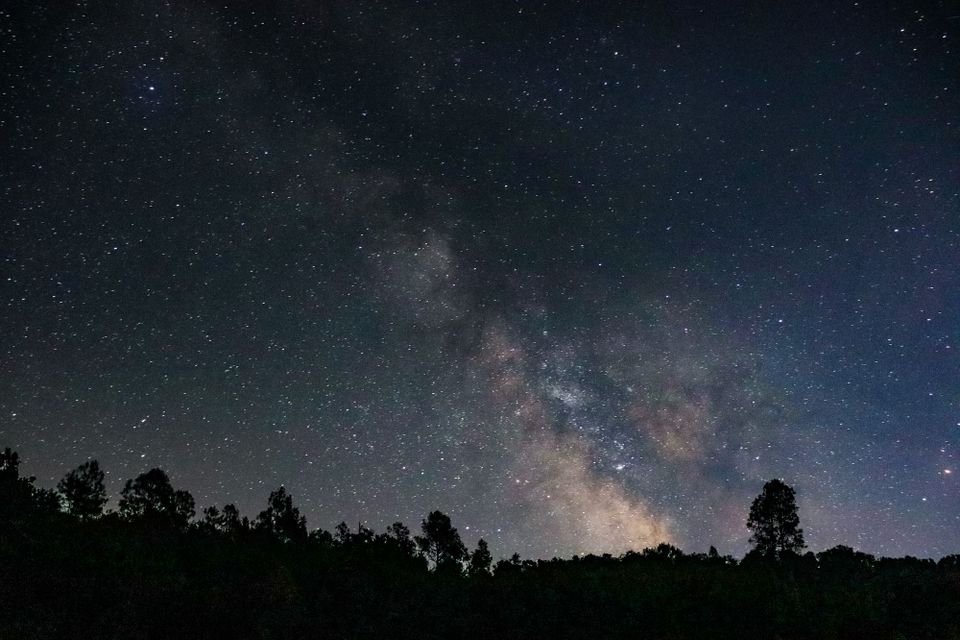
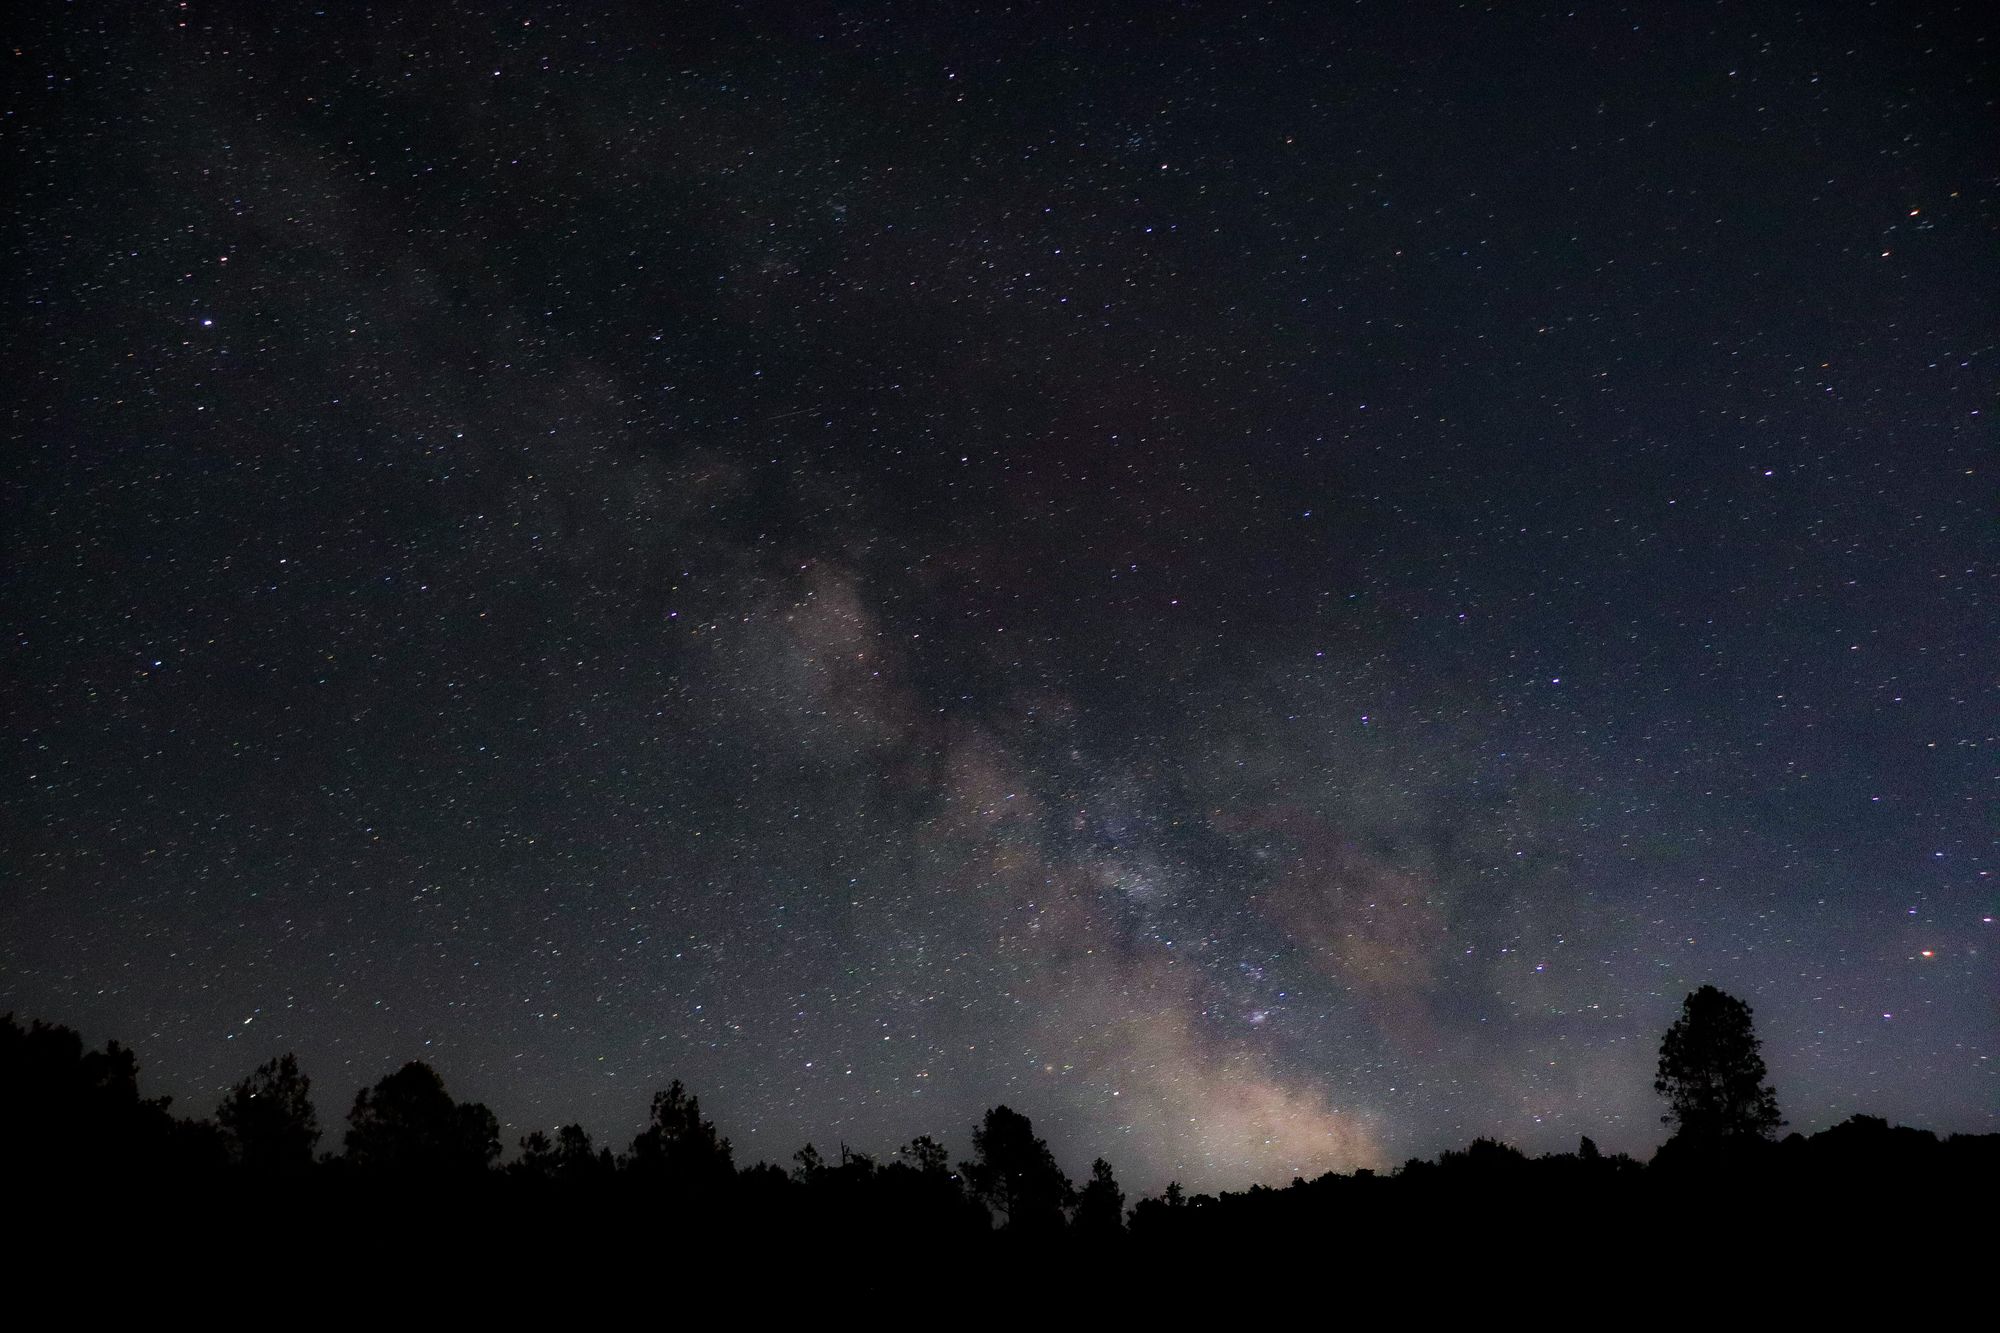
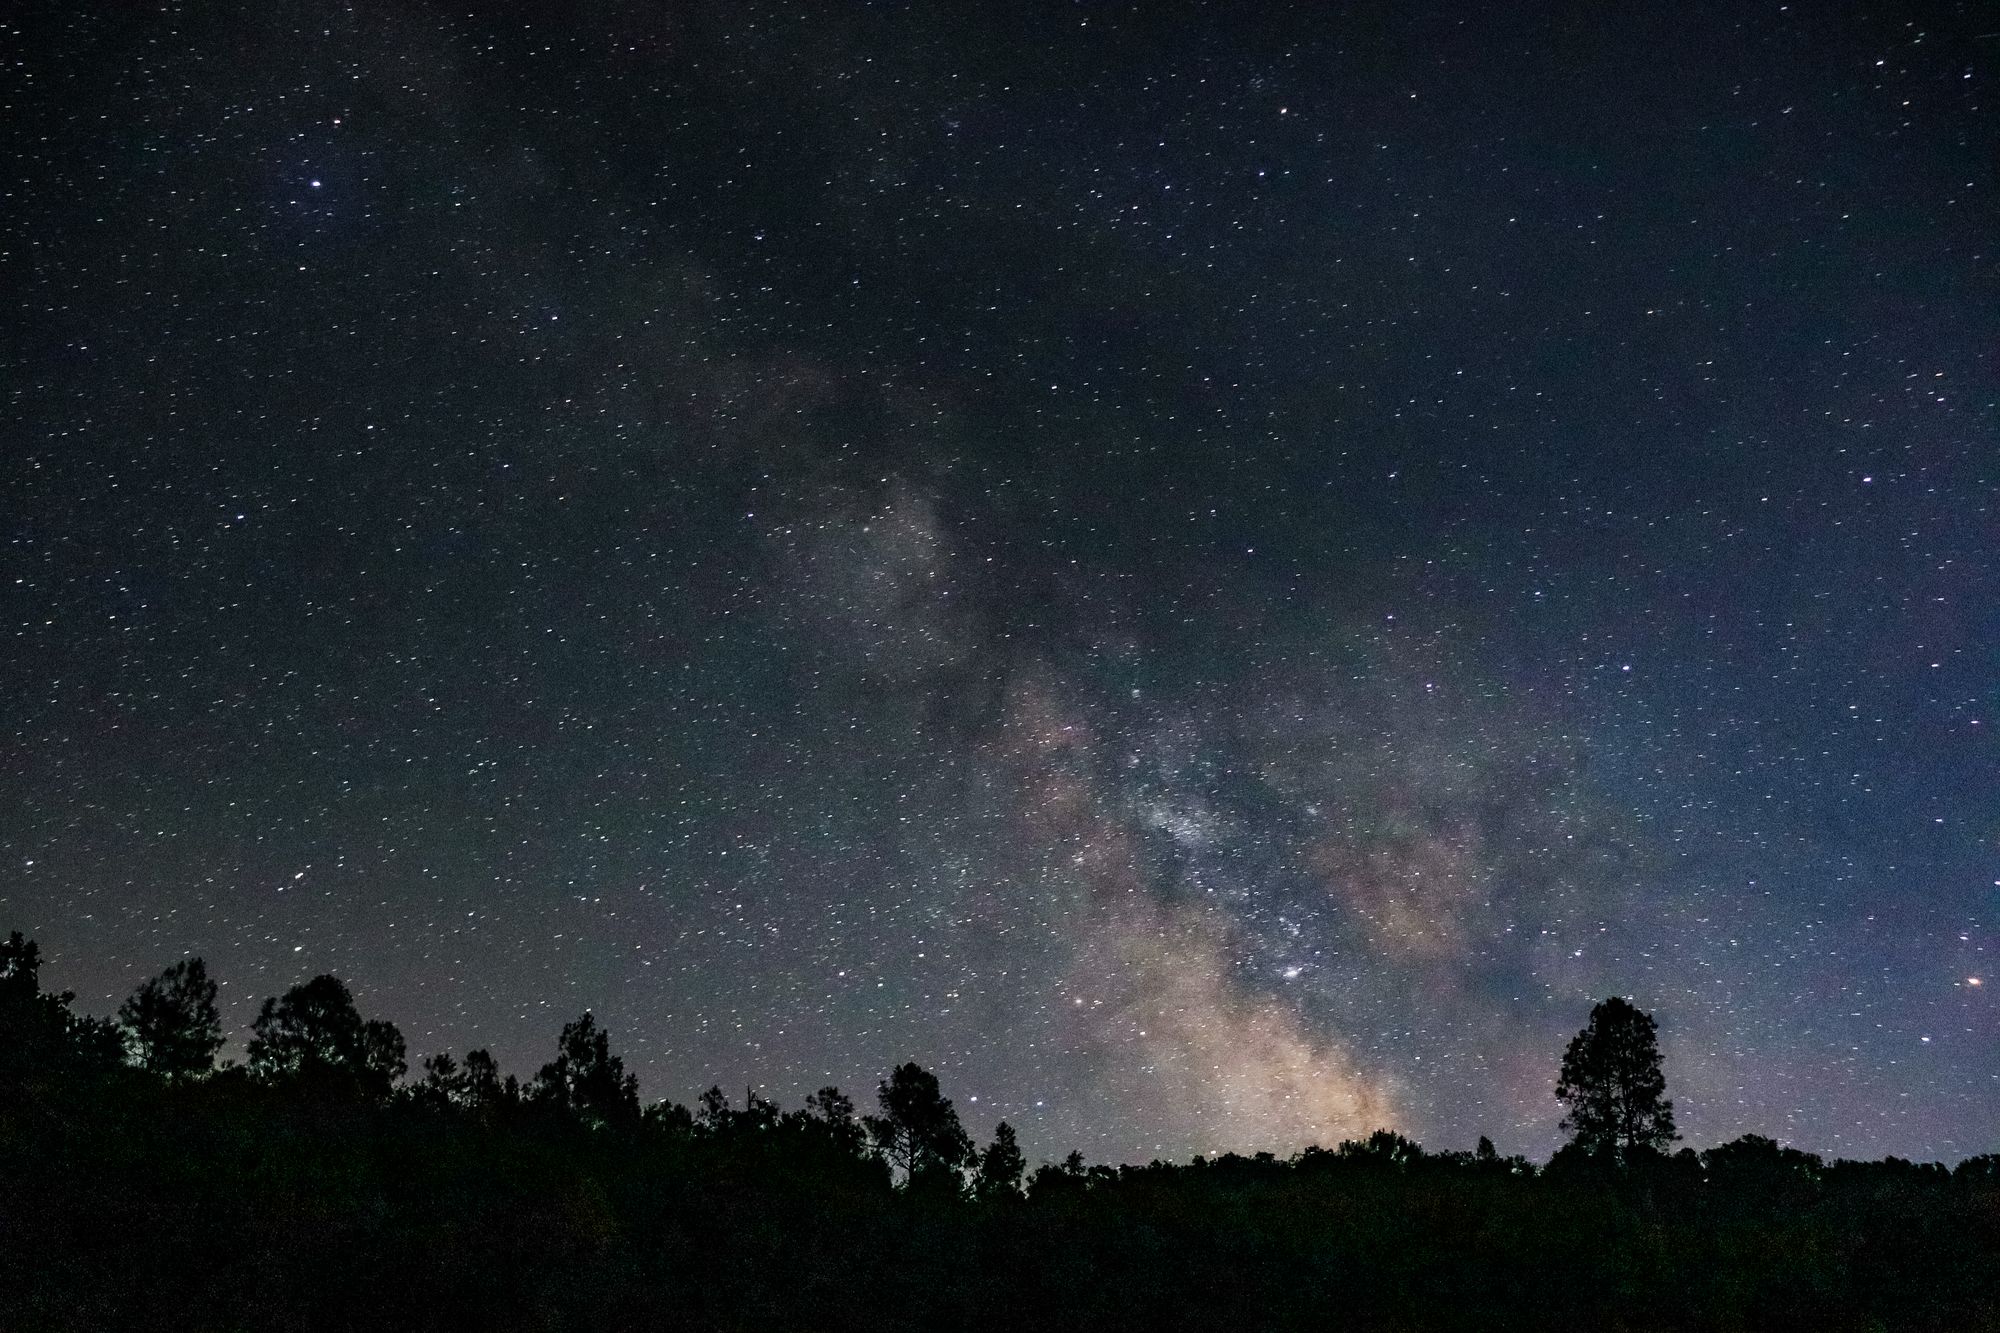
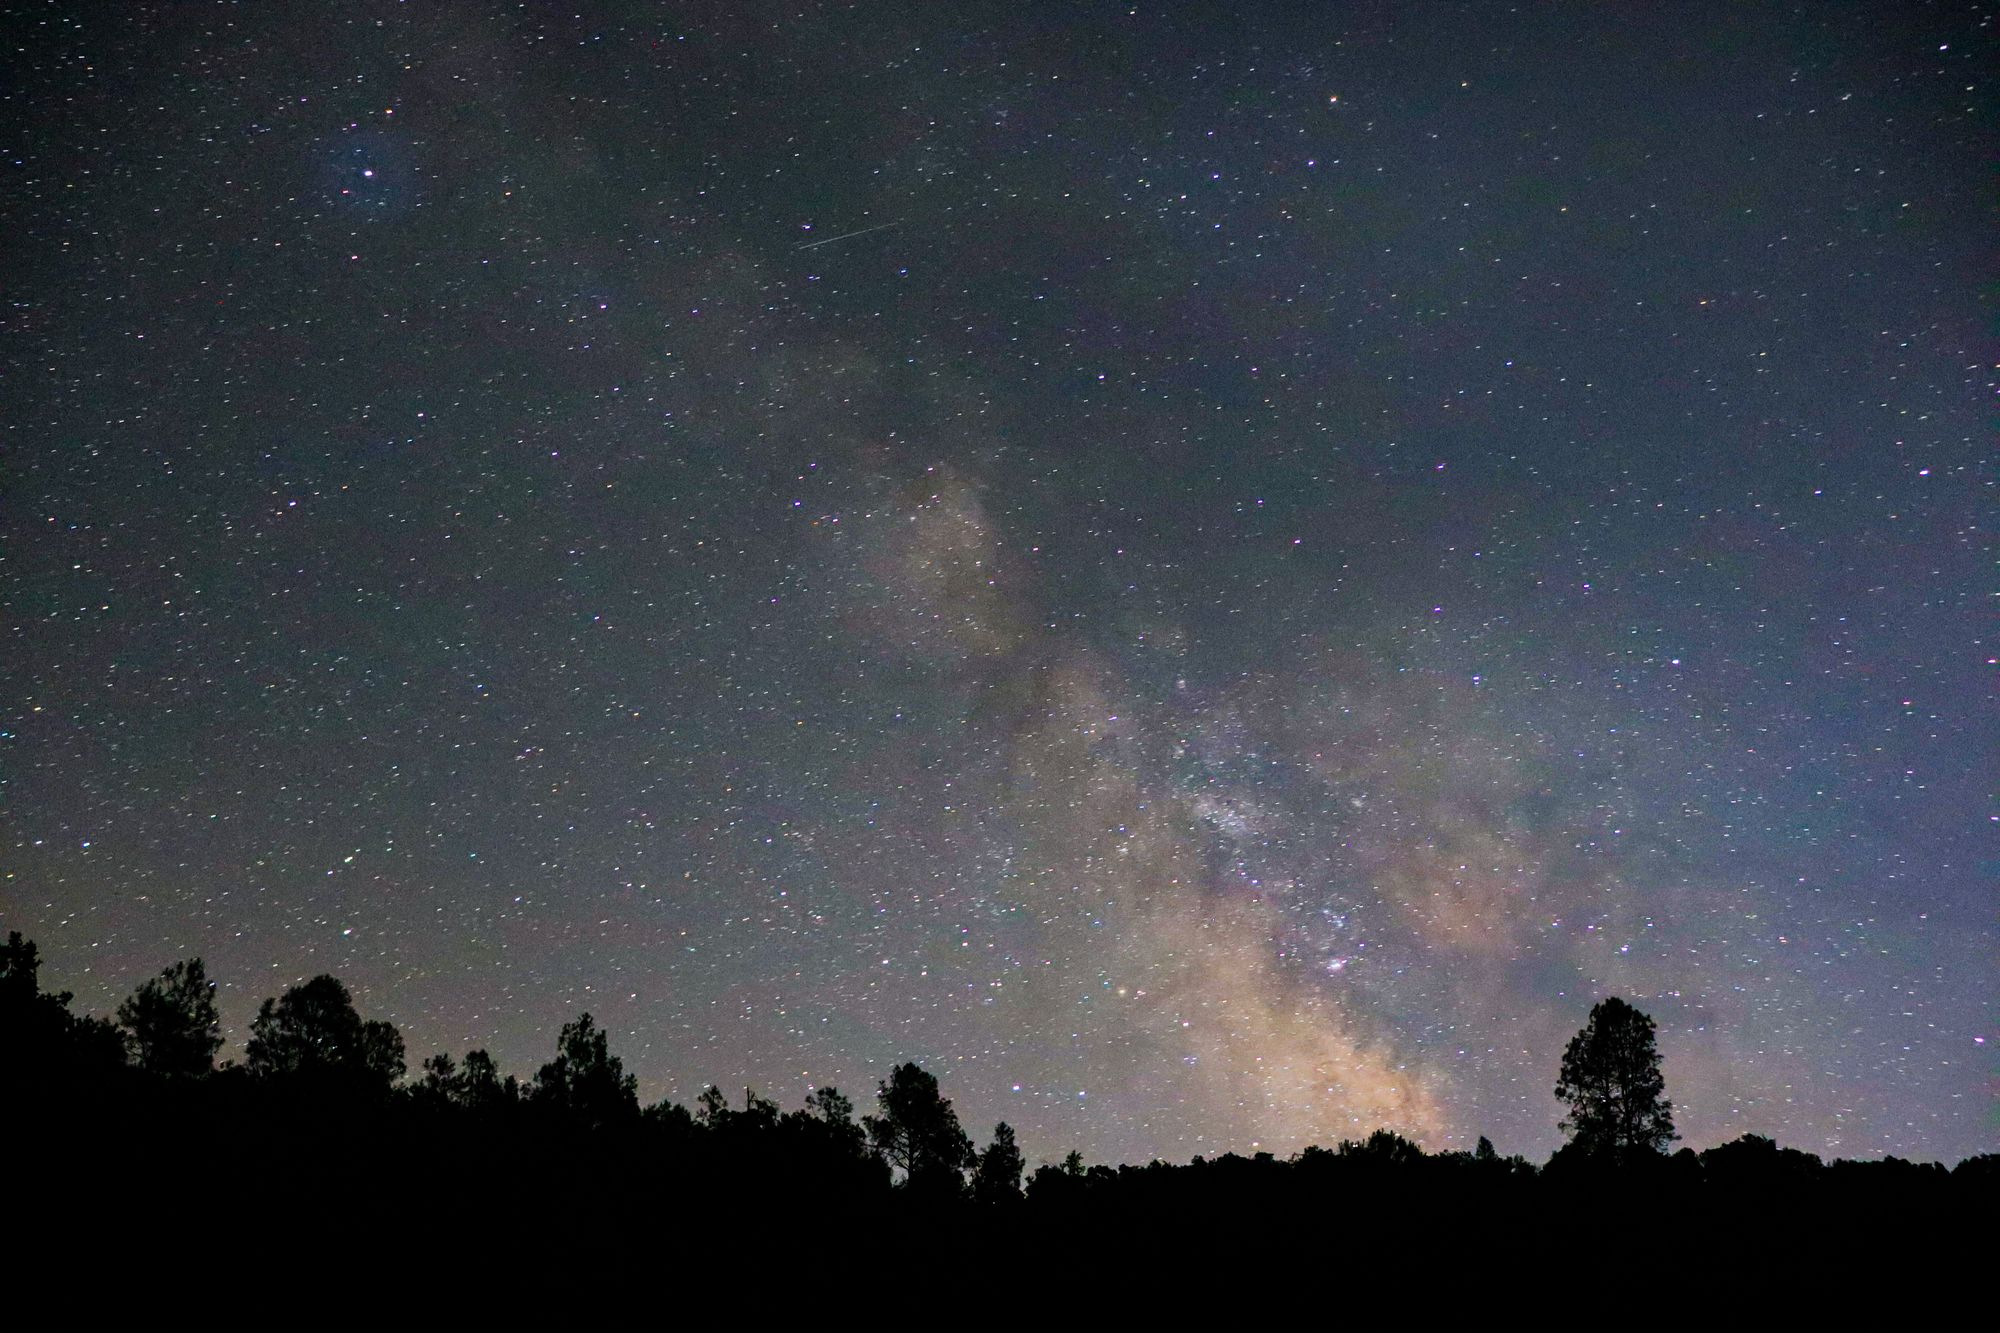
The Pictures
Goals and Gear
My goals were simple:
- Find the most essential gear setup required, while sticking to what I already have.
- Learn the end-to-end process of how to capture the Milky Way, without worrying about the result.
My setup consisted of the most essential gear:
- A DSLR camera — Canon EOS Rebel T8i
- The basic kit lens that you get with the camera — Canon EOS 18-55 mm (f/4-5.6 IS STM).
- A tripod with an adjustable mount (preferably a ball mount for free orientation).
- A remote shutter.
- A head-mounted red light.
I'll explain the gear usage shortly, but this is all one needs to capture Milky Way for the first time. There are other things like a Star Tracker, a wide-angle lens, etc that make the photograph much better, but those are not mandatory for the first time.
Location and Conditions
The most important aspect of taking a picture of the Milky Way is the location. It is probably more important than the camera setup. The following are the ideal conditions for a good Milky Way shot.
Little to no light pollution
The Milky Way will not be visible to the naked eye or the camera if there's light pollution in your location. Seeking a location with little to no light pollution is crucial. Especially as we are working with a kit lens that does not have a large aperture, it is better to find the darkest of the places to shoot. And as it's for the first time, we are bound to make mistakes, so having a very dark area gives us some room to make errors.
I used this Light Pollution Map to see the light pollution in a given area. A basic Google search told me a list of places for astrophotography, and I searched the name of the place in the light pollution map. There are other things like Bortle Scale which is a scale to measure light pollution, but the light pollution map will suffice for now. Hence the thumb rule is, the darker the better.
Clear sky
This is pretty self-explanatory but a clear sky is necessary to capture the Milky Way. Scarcely cloudy conditions are fine as long as they don't come in the way. However, it helped me to check the conditions thoroughly.
Moon Phase
The moon phase is another aspect that is critical. When the moon is 50 to 100% full, the sky is going to be bright and the stars are not going to be visible even if you are in a place without light pollution. The ideal condition for shooting Milky Way is during the new moon phase i.e., the new moon day ± 2 days. I shot on the day before the new moon.
Camera Settings
The following are the camera settings I used:
- Mode: Manual
- Focus: Manual Focus
- ISO: 3200, 6400
- Aperture: f/4
- Shutter Speed (Exposure): 30 seconds
Based on the conditions of the night, I played around with the ISO values. I started with 1600 but it was too dark, so I switched between 3200 and 6400.
Note: There is a thumb rule for calculating the exposure time called the 500 rule. Exposure time = 500/focal length of the lens. This is for full-frame cameras. For a crop sensor camera, it's 300 instead of 500. Mine is a crop sensor camera and according to the rule, my exposure time should've been 16.67 seconds (300/18). However, I completely forgot about this on the spot and shot with a 30-second exposure. Maybe I would've ended up with better pictures if I had reduced the exposure. Something to remember next time.
The Photoshoot
Here is the sequence of events once I arrived at the spot:
- Use an app called Stellarium to find out how the Milky Way is going to travel over the night. The app gives a clear trajectory for the Milky Way throughout the night. This will help us position our camera accordingly.
- Remember that the place is super dark. So we have to give some time for our eyes to adjust to the darkness. It helps to put down our phones and smart watches away and dim the brightness to the lowest on the camera screen. When it is completely dark, it's difficult to set things up without a light source. We cannot use the flashlight from our phones as it will set off our eyes and disturb others around us. This is where a red light comes in handy. The red light doesn't reset your eyes and keeps them in the "low-light" mode. I used a head-mounted red light for the whole night.
- Set up the tripod with the camera facing the direction of the Milky Way. It helps to set rough camera settings (setting to manual mode, setting exposure, etc) beforehand so that we reduce our workload on the spot.
- Connect the remote shutter button to the camera. The purpose of this button is to minimize the shake. When you are taking 30+ second exposures, even a slight shake on the camera is going to affect the photo a lot. So a remote shutter eliminates that shake. We won't even be touching the camera.
- Once I positioned the camera, I took a test shot to see if the position and composition are okay. Once I'm fixed, I started taking pictures. In each position and setting, I took 10-15 pictures continuously so that they can be stacked. More about stacking later.
- I played around with different positions, compositions, and ISO values and this is all I did for the next 3 hours. I checked the Stellarium app frequently to see how the Milky Way is going to move in the next 30 minutes.
Post Procesing
During my time of research and learning so far, I learned that post-processing is one of the most important steps in astrophotography. A lot of heavy work is done after the photo shoot, not during.
I edited my photos in Adobe Lightroom. I'm totally new to this, but I tried my best. More than editing, there's an important technique called Stacking. Stacking is the process by which you combine a bunch of images to produce a single better image. This is crucial for first-timers as we are using a kit lens with a smaller aperture and without a star tracker. Hence, the output is going to be noisy. Stacking helps reduce the noise by combining multiple pictures together.
Unfortunately, stacking isn't as easy as I thought. The pictures in this post are single images with Lightroom edits, which are not stacked. Looks like I will need more time to learn image stacking.
Final Thoughts
Overall, it was an amazing experience. It was peaceful to just sit there for hours and look at the stars. I enjoyed just looking at the stars with my own eyes as much as I did capturing them on the camera. The Milky Way itself is kind of more faint looking than the photographs. The cameras do a better job of capturing the Milky Way than our eyes. Still, it was totally worth it just looking at the stars.
In all of our regular photographs, the foreground is us, our friends, buildings, etc and the sky is the canvas. But on a night like this, the canvas becomes the art. I let my mind wander, and it was fascinating to think that all of this is just out there every night. We just don't get to see them because of our city lights and busy lives. I'm sure I'll do this more often, not for the photographs, but for the view.
Helpful Resources
Here are some resources that were useful for me.